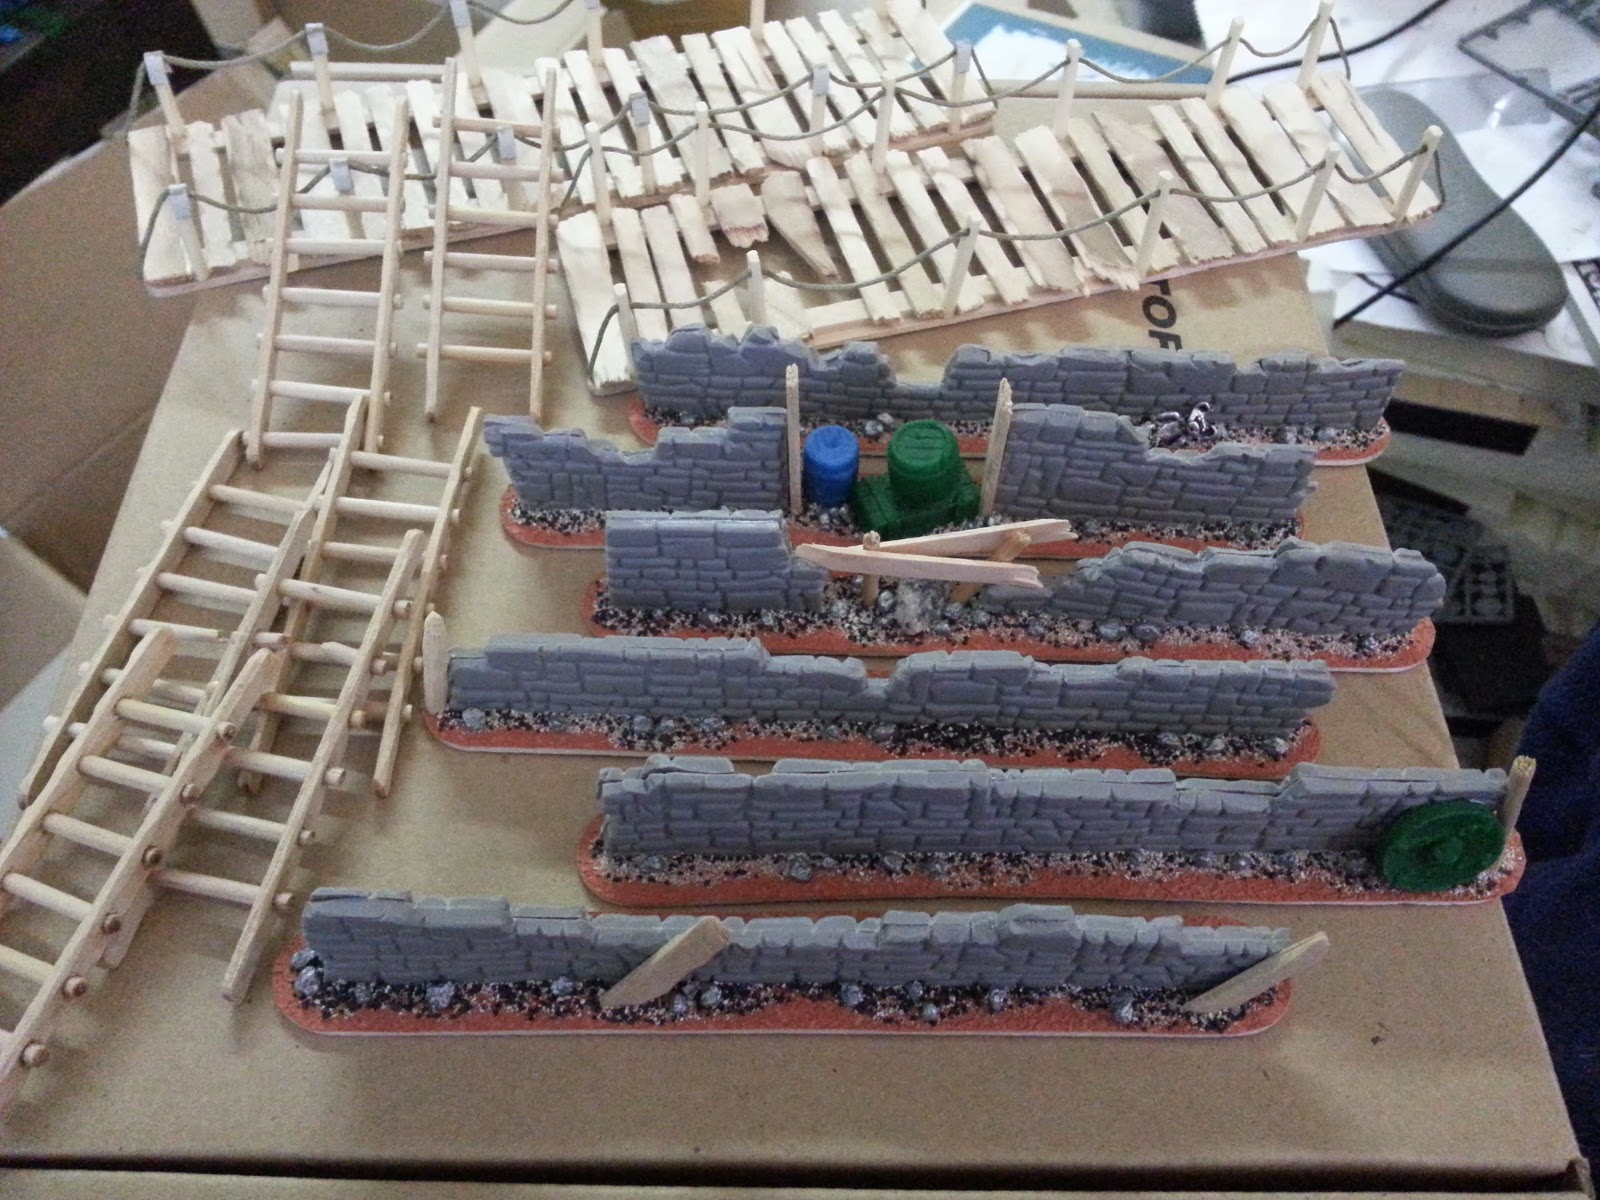
Hello again. This time I've come up with a doozy of an update. A new table for Mordheim! Below I try my best to break down every step how I did it.
This has been a long time coming. Drawing up inspiration and lessons from the first foldable table I made some 15 years ago. The actual spark for starting this project came when I was casually looking at some gaming mats (for Kill Team I guess), and realized they actually had deployment zones pre-measured on the table graphics themselves. That was a real tangible advantage I wanted to have in my new table.
From there gathered up the list I wanted to have in it:
- Pre-measured deployment zones. As said above.
- Strong wooden frame. My last one which is made of 2 inch foam is somehow slightly warped in weird directions.
- Make it more pretty. Old one was just two pieces of foam with some spare wood, hinges and other stuff slapped on to it.
- Take more advantage of the foam. Old table was pretty much all foam, but I never carved it in any way. I chose it just for its weight and durability.
- Make it more diverse. This time I used five-ish different textures on it instead of one.
- Try new techniques and hope for the best. Luckily pretty much everything worked out how I thought they would.
 |
| Here's the plan of making deployment zones on the table. I also wanted to mark the center for whatever reason. |
 |
| The table frame, not made by me (thanks Antti!) |
 |
| Stained and sealed. Again, not by me. |
 |
| Start of the first zone. The big circle has no other meaning than to break up the monotony. |
 |
| Making the stone texture... with a stone. |
2 cm (a little less than 1 inch) thick FinnFoam was chosen for the surface, and was cut in 4 feet by 2 feet pieces.
The frame and the surface is actually almost within one millimeter of the 4' x 4' common gaming table size, which is super awesome.
I wanted to work with textured wallpapers, but decided that it would be good variation to do something by hand. One of the four deployment zones would suffice for this.
I made the deployment zone tiles with ballpoint pen, textured them with anything that has a nice texture, and sealed with watered down PVA glue.
The other deployment zones were carved in. I used a soldering iron which has this carving-knife-tool attached to it. Cuts through like butter. Basic wall filler was used if a cut was too deep.
 |
| Masking is important. |
 |
| Carved (or rather melted) the other deployment zones. |
 |
| One of my miscast sewer grates got a new life here. |
 |
| Put two textured wallpapers on top of each other and cut them. Then swap the identical sized pieces and tape them. |
 |
| All taped. |
 |
| Use watered down acrylic paste and a piece of cloth for bendiness. |
I took a wide slice of the other (green) wall paper, and taped it over the bottom one (red). Then I took a knife and cut through both at the same time to get identical pieces, then swapped out the pieces and taped them in place for gluing.
Flipped the taped wall paper design over, and glue it underside. I used watered down acrylic paste to adhere a piece of cloth to hold it tight.
Because the design marks the center of the table, it is in the spot the table folds, so no glue that dries hard, or warps, or does any other funky business would do.
 |
| Some additional texturing to break the monotone. |
 |
| Making marks! |
 |
| All glued on and trimmed. Also a road has been added. |
This is pretty much the final form of the surface. Wall papers have been trimmed and glued, the gutter and other "bald spots" have been cut through and made visible, and the road has been marked and started.
There was a slight problem with the design though. There is a 12 inch area in the middle of the table that can't be glued because the joint hinge is above the surface level, and would rip the paper off when folded. This left a bit of bulging in the wall paper (as seen above), which I didn't mind as much since it would - again - be covered with terrain. Miraculously though, this flaw corrected itself in the latter work steps. Read below.
 |
| The gutter. |
 |
| Additional minor details. |
 |
| Rubbing in some sand for additional texture. |
The random sand texture to really break up the monotone of the wall paper. This was pretty much the last big work step to be done. I didn't know if it would work, and was super nervous how it would end up.
I made this watered down (to a light creme viscosity) PVA glue with aquarium sand, and some random color just to see where I've applied it. My vision was to rub it in the crevasses of the wall paper and hope the glue would hold it. The reality was that the sand wouldn't really go in the cracks and would be left all over the place. I compensated by adding more of the stuff.
In the end it worked out, really random patterns and the glue held good. A lot of the sand went to waste, and a lot of work (and sore fingers) was needed to rub the excess sand off. But now, my biggest worry was behind me.
The miracle that also happened, was that the watered down glue shrunk so much that it flattened all the bulges that formed when adhering the wall paper to the foam. I was glad indeed!
 |
| Lower part of this picture has been rubbed out of excess sand, the top part is just glued. |
 |
| A mud paste made out of acrylic paste, water, sand and wood dust. |
 |
| A muddy road. |
The last thing before painting is the road that marks the last deployment zone.
A paste was made from acrylic paste, water, that same sand, and wood dust. I settled on a stuff that was comparable thickness to a yoghurt. Applied it and ran the other end of a brush through it to simulate some wagon tracks.
Then after drying I picked off the bigger clumps to flatten it a bit.
 |
| Black spray paint. |
 |
| A full coat of cheap-o brown acrylic was applied. After this was gray spray paint. |
 |
| A few different brown washes were applied at different spots. Pictured above is the first and the heaviest one. |
 |
| Without the light gray drybrush. |
 |
| With the light gray drybrush. |
Now was the time to get painting. First up were the gray parts.
The layers were as follows: Black spray, cocoa-brown acrylic (with some added acrylic paste to maybe protect the surface more), gray spray. Over the gray base I washed over with few different browns, leaving random spots and marks.
Once that was dry I went over with the same gray as the base, but with a bottled paint. Using long strokes and the brush almost horizontally, I carefully tried to only paint the raised parts of the vinyl wall paper.
The last thing to do was to drybrush the whole thing with one step lighter gray.
 |
| WIP brown parts. These have five-ish layers of different browns brushed and washed. A few more to go still. |
 |
| Fresh out of the masking removal. |
Brown parts weren't given any thought at all. Just mixing different colors and seeing what shows up over the base color. Some washed, some brushed, and others drybrushed.
I think I ended up painting eight to ten brown layers overall, last one being really diluted smokey ink applied by my index finger.
I think I ended up painting eight to ten brown layers overall, last one being really diluted smokey ink applied by my index finger.
Some minor repairs were necessary after the masking tape had ripped some of the paint off.
In the end I'd say I'm 90% pleased with my creation. There's a few thing that nag me a bit.
One being that the few reddish tiles I painted don't really show up, and kinda just look painted on. The other is that the sand particles might still - after so many precautions - get loose, and they might be bad with terrain that has really hard base. I think it would've been better to use wood dust instead of sand there.
Some paint may chip, and holes get poked on it, but that is just to be expected.
So here we have it. My new Mordheim table.
 |
| The very next day my table saw its first few games. |
 |
 |
| A cat warming her butt on a wireless router. |